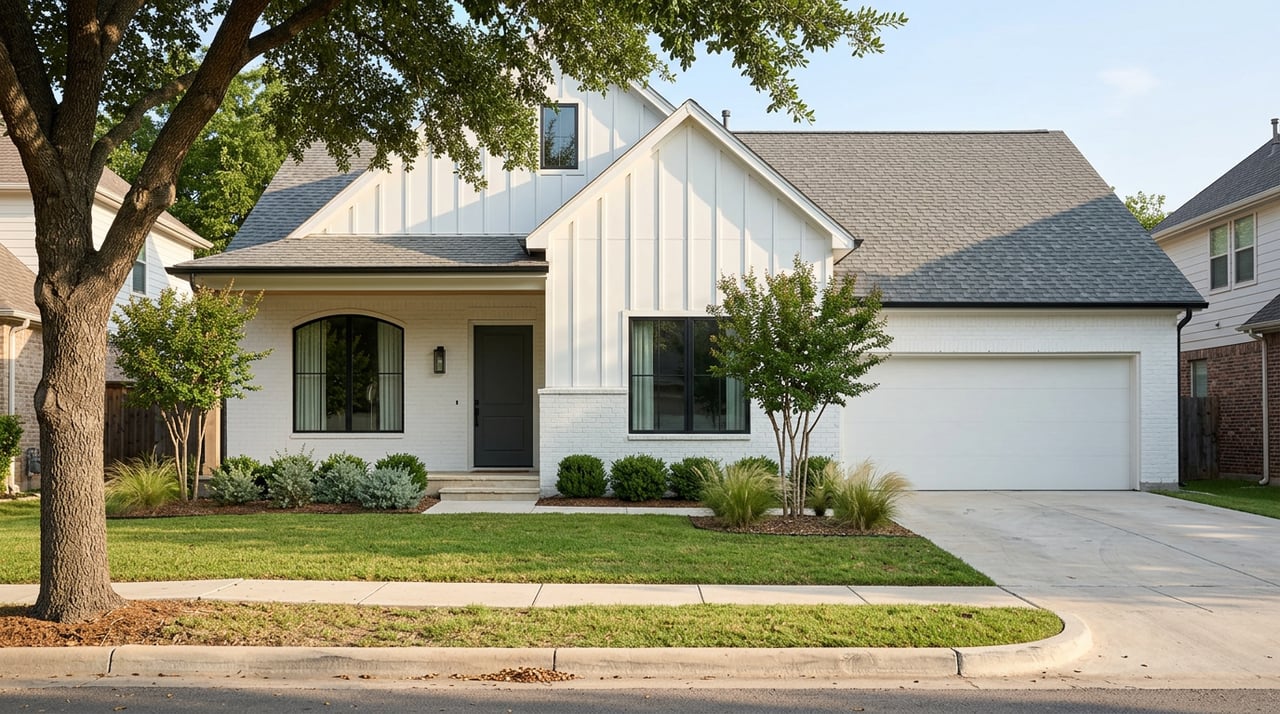
Buying new construction in Conroe should feel exciting, not stressful. Still, with our humid climate and fast-moving build schedules, it is easy to miss details that matter. You deserve a clear, local checklist that helps you catch issues early, document fixes, and step into closing with confidence. In this guide, you will get a step-by-step pre-drywall and final walkthrough plan tailored to Conroe and Montgomery County. Let’s dive in.
Why walkthroughs matter in Conroe
Conroe sits in a humid subtropical zone with seasonal heavy rain. High moisture affects drying times, wood movement, HVAC performance, and the risk of mold. Proper grading and drainage away from the slab are critical to protect your foundation.
Many new homes here use slab-on-grade foundations. That means you should look closely at control joints, slab cracks, plumbing sleeves, and yard grading. If your lot is near Lake Conroe or local creeks, confirm flood zone status and any elevation or mitigation requirements.
Before move-in, a new home should have passed required code inspections and received final approval, often a Certificate of Occupancy. Some subdivisions are inside the City of Conroe’s jurisdiction, while others are in unincorporated Montgomery County. Ask your builder which authority handled permits, then request permit numbers and inspection records.
Builder warranties often follow a 1-2-10 framework. Terms vary, so read your contract and warranty documents closely and keep all deadlines in mind for punch-list items.
Pre-drywall walkthrough checklist
Your goal at pre-drywall is to catch hidden issues before they get covered up. Schedule this visit after rough-ins are complete and before insulation and drywall.
Pre-drywall prep
- Bring the plans, permit numbers, and notes for electrical, plumbing, and HVAC locations.
- Request temporary power for testing and safe access to attic or crawl spaces.
- Hire an independent, licensed home inspector for a rough-in inspection.
Foundation and framing
- Look for proper slab control and expansion joints and note any slab cracks.
- Verify anchor bolt locations and plate heights match plans.
- Check for missing or misaligned structural members or truss bearing points.
- Confirm blocking and firestopping at chases and penetrations.
Site and drainage
- Confirm rough grading slopes away from the foundation and that swales are set to move water off-site.
- Ask for termite pre-treatment documentation and terms of any warranty.
- Verify sewer or septic line routing, cleanouts, and inspection points.
Plumbing rough-in
- Inspect drain, waste, and vent lines for correct slope and support.
- Confirm sleeves through the slab and locations for tubs and showers.
- Check that hot and cold supply lines are correctly routed and tagged.
- Ask if a pressure test was performed and request results.
Electrical rough-in
- Verify outlet and switch box locations, service panel placement, and meter setup.
- Confirm dedicated circuits for dryer, oven, and HVAC.
- Check that cables are supported, protected, and not overstretched.
HVAC and mechanical
- Inspect duct routing, clearances, and supports, and note return-air locations.
- Confirm venting and flues for gas appliances terminate correctly outside.
- Verify HVAC unit placement, pad location, and line-set sleeves.
Fire safety and insulation prep
- Look for fireblocking at wall and floor penetrations and at attic entries.
- Confirm attic ventilation and baffles at eaves where insulation will go.
- Verify insulation type and R-values match plans and code.
Document and act now
- Take labeled photos and short videos by room, with timestamps.
- Create a written punch list and request a written acknowledgment with timelines.
- If you spot serious structural, plumbing, or electrical concerns, ask the superintendent to review and verify municipal inspections.
Final walkthrough checklist
Plan your final walkthrough after utilities are on and finishes have had time to cure. Bring your contract, plans, warranty documents, and the pre-drywall punch list to verify corrections.
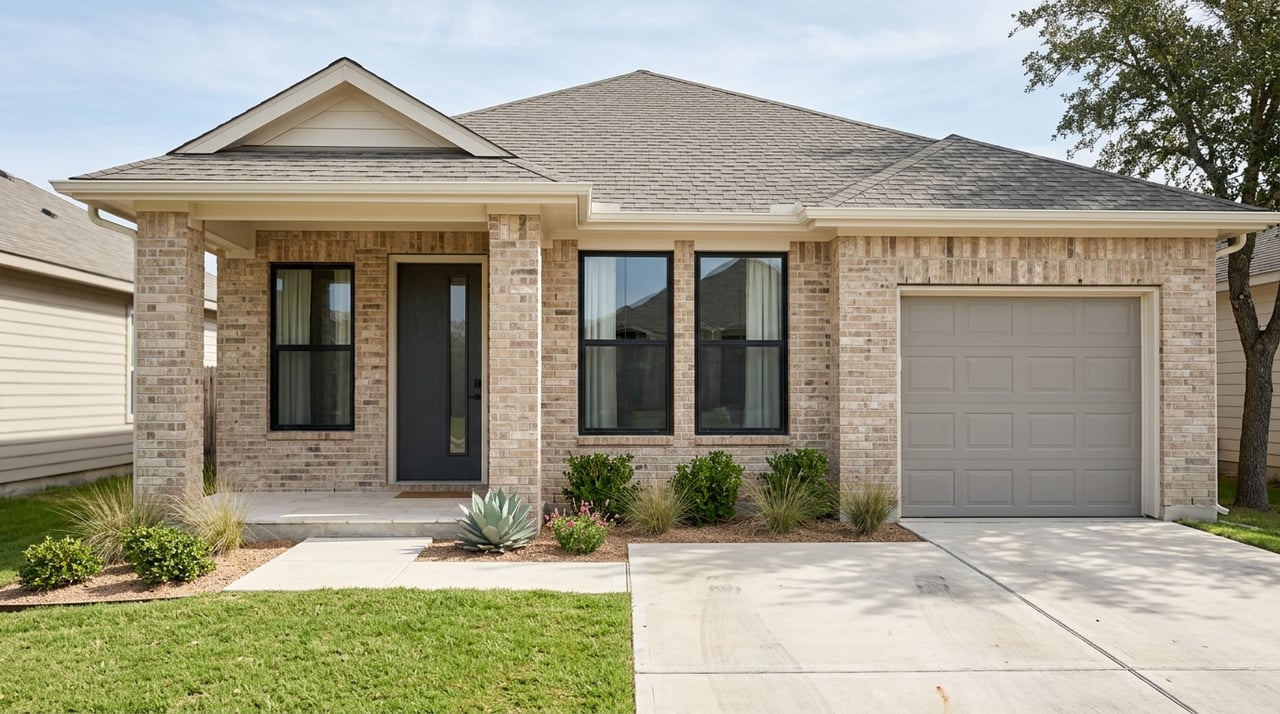
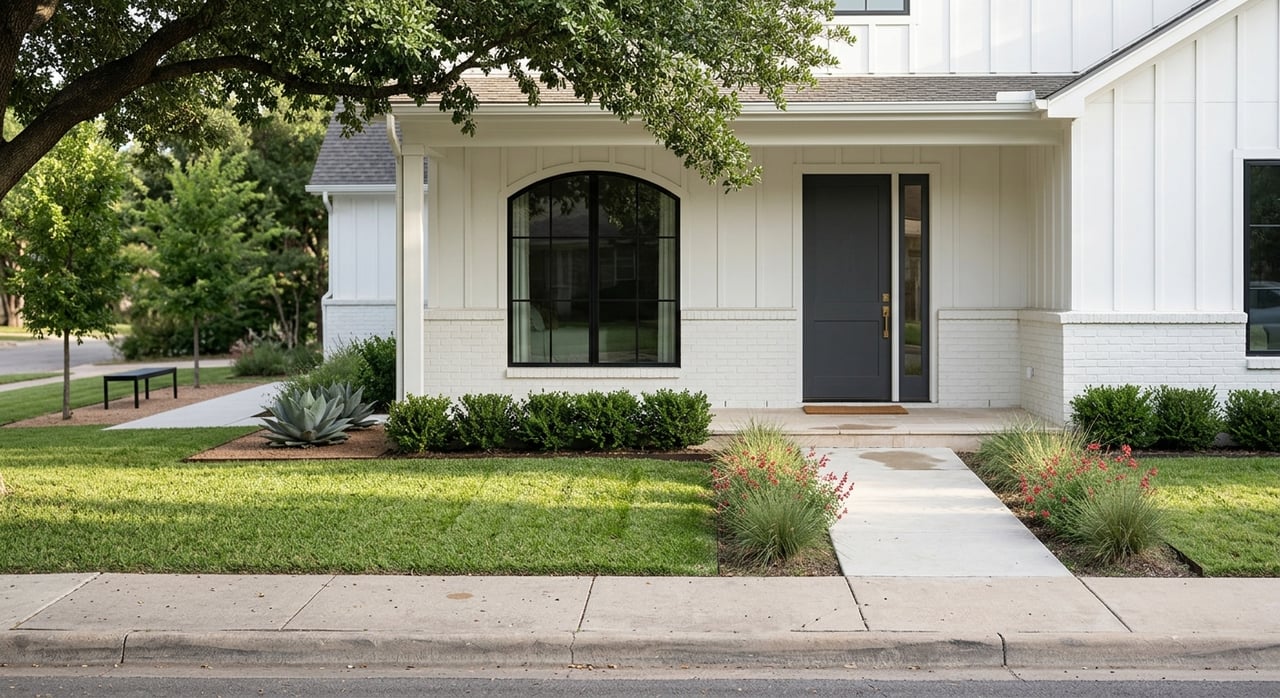
Exterior and site
- Grading: confirm slope away from the foundation and no signs of ponding.
- Siding and masonry: check for gaps, mortar cracks, missing caulk, and paint flaws.
- Roof and gutters: verify shingles, flashing, and that downspouts route water away from the slab.
- Driveways and walks: note large cracks or uneven areas that create trip hazards.
- Garage: test door sensors, opener, weather-stripping, and smooth operation.
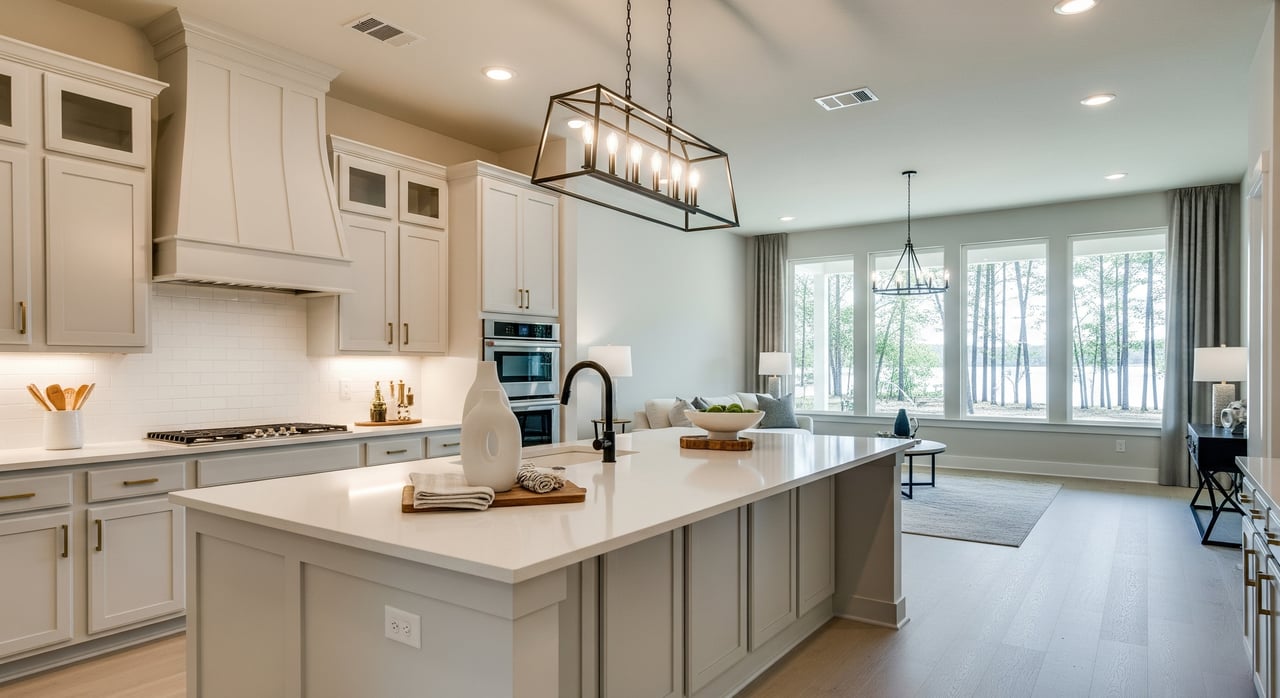
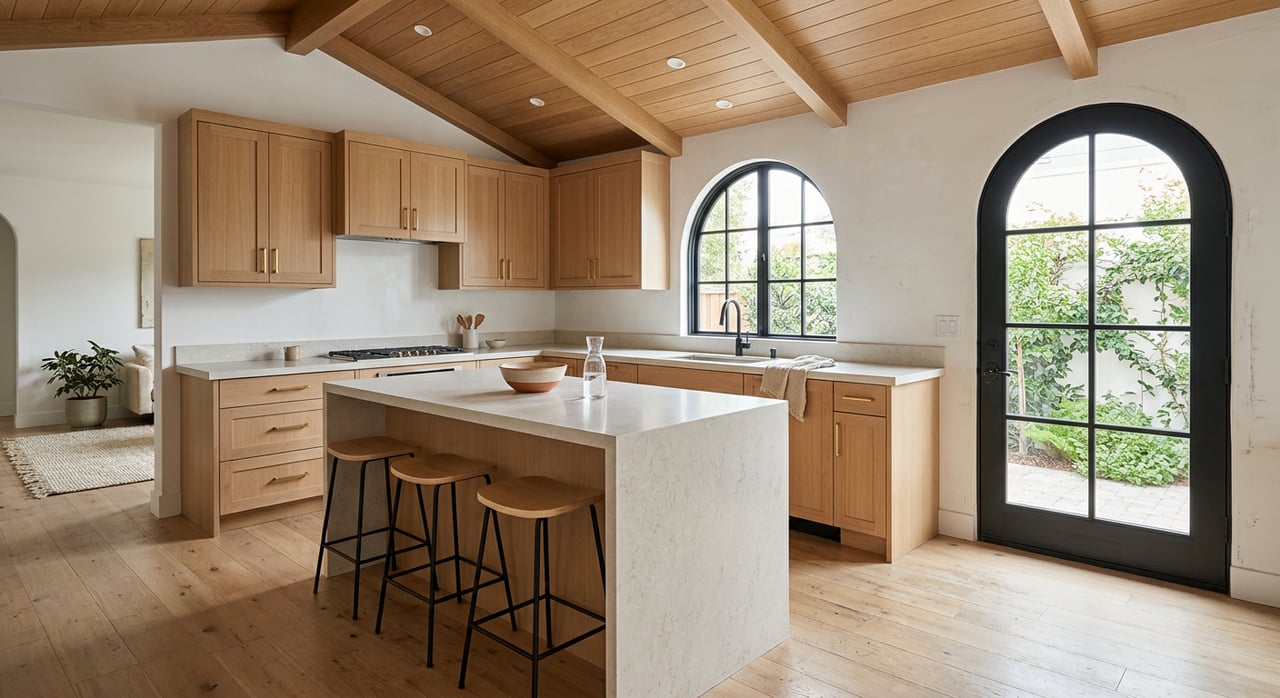
Interior finishes
- Doors and windows: open and close each one, test locks, confirm weather-stripping and weep holes, and check for sealed glass with no fogging.
- Floors, walls, ceilings: note paint defects, nail pops, cracks, uneven flooring, and trim gaps.
- Cabinets and counters: check for level installation, solid hardware, and undamaged surfaces.
- Trim and paint: look for consistent coverage and caulked seams.
Mechanical, plumbing, and electrical
- HVAC: test in heat and cool modes if possible, confirm airflow at registers, and check thermostat settings and condensate drainage.
- Water: run hot and cold at all fixtures, check pressure and temperature, and look for leaks. Flush toilets and operate showers.
- Water heater: confirm pressure relief valve, venting, secure install, and record model and serial number.
- Electrical: test all outlets and switches. Confirm GFCIs in wet areas and AFCI breakers if present. Check lights and fans.
- Appliances: run each installed appliance and collect manuals and warranty papers.
- Smoke and CO detectors: test alarms and confirm locations.
- Fireplace: if present, test ignition, check glass or doors, and review maintenance instructions.
Interior safety items
- Handrails and guardrails: confirm secure attachment and proper height.
- Stairs: check uniform risers and secure treads.
- Egress: verify required bedroom egress windows open and have clear access.
Documentation and testing
- Build a room-by-room punch list and add timestamped photos or videos.
- Gather receipts, warranty documents, appliance manuals, and maintenance recommendations.
- Consider a third-party inspection focused on systems performance before closing.
Documentation and escalation
Keep a digital folder for everything: permits, inspection reports, photos, emails, punch lists, and warranties. Send punch lists by email, ask for written acknowledgment, and request estimated completion dates.
If you need extra assurance, hire a licensed inspector. For specific concerns, bring in a structural engineer, licensed plumber, electrician, or HVAC specialist.
Start escalation with the builder’s superintendent and your sales representative in writing. If you suspect unresolved code issues, verify inspection records with the appropriate local authority. For warranty disputes or suspected deceptive practices, consult a Texas real estate or construction attorney to understand your options. Use written notices instead of verbal promises.
Prioritize safety and water-related issues first. Gas leaks, exposed wiring, missing alarms, roof flashing problems, and drainage toward the foundation should be escalated immediately. Cosmetic items can usually follow after functional items are resolved.
Common Conroe issues to watch
- Drywall: nail pops, joint cracks, uneven texture, or sanding marks.
- Trim and paint: gaps at joints or seams and inconsistent coverage.
- HVAC: low airflow at some registers, out-of-balance rooms, or duct leaks.
- Plumbing: slow-draining tubs or showers, loose supply fittings, or minor leaks.
- Doors and windows: sticking, alignment issues, or failed window seals.
- Exterior grading: insufficient slope causing ponding near the slab.
- Slab cracks: hairline cracks can be common, but larger or widening cracks need review.
- Settlement cracks: monitor for changes, especially through seasonal moisture swings.
Our humid climate and soil movement can make finish cracks more noticeable. Termite risk is also higher in moist areas, so confirm pretreatment and any included termite warranty.
Keep your records for closing
Ask for final permit sign-offs, a list of municipal inspections, and confirmation of final approval before closing. Gather all builder and manufacturer warranties, model and serial numbers, and maintenance schedules for systems and appliances. Note any warranty reporting windows and how to submit requests.
Next steps with local guidance
You do not have to navigate builder timelines, inspections, and punch lists alone. With a clear checklist, strong documentation, and the right advisor, you can protect your investment and enjoy move-in day.
If you want thoughtful, broker-level guidance from contract to closing in Conroe and nearby Montgomery County communities, reach out to Rising R Dream Properties. We take a high-touch, client-first approach to help you schedule inspections, review records, and prioritize punch-list items so you can close with confidence.
FAQs
What is a pre-drywall walkthrough for new construction?
- It is a rough-in inspection stage where you check framing, plumbing, electrical, HVAC, fireblocking, and site drainage before insulation and drywall cover the work.
What documents should Conroe buyers request before closing?
- Ask for permit numbers, inspection sign-offs, final approval or Certificate of Occupancy, builder and manufacturer warranties, and appliance manuals with model and serial numbers.
Who handles permits in Conroe or unincorporated Montgomery County?
- Homes inside Conroe city limits are typically under City of Conroe Building Inspections, while homes in unincorporated areas fall under Montgomery County Permits and Engineering.
What should I do if the builder will not fix items before closing?
- Escalate in writing to the superintendent and sales rep, document with photos, review your contract and warranty, and consult a Texas real estate or construction attorney if issues remain unresolved.
Do I need an independent inspector for new construction?
- Yes, an independent inspector at pre-drywall and again before closing is a small investment that helps uncover concealed or functional issues the builder can address.
How do humidity and heavy rain affect new homes in Conroe?
- Moisture can extend drying times, shift wood framing, impact HVAC performance, and increase mold risk, which makes proper grading, drainage, and ventilation checks essential.